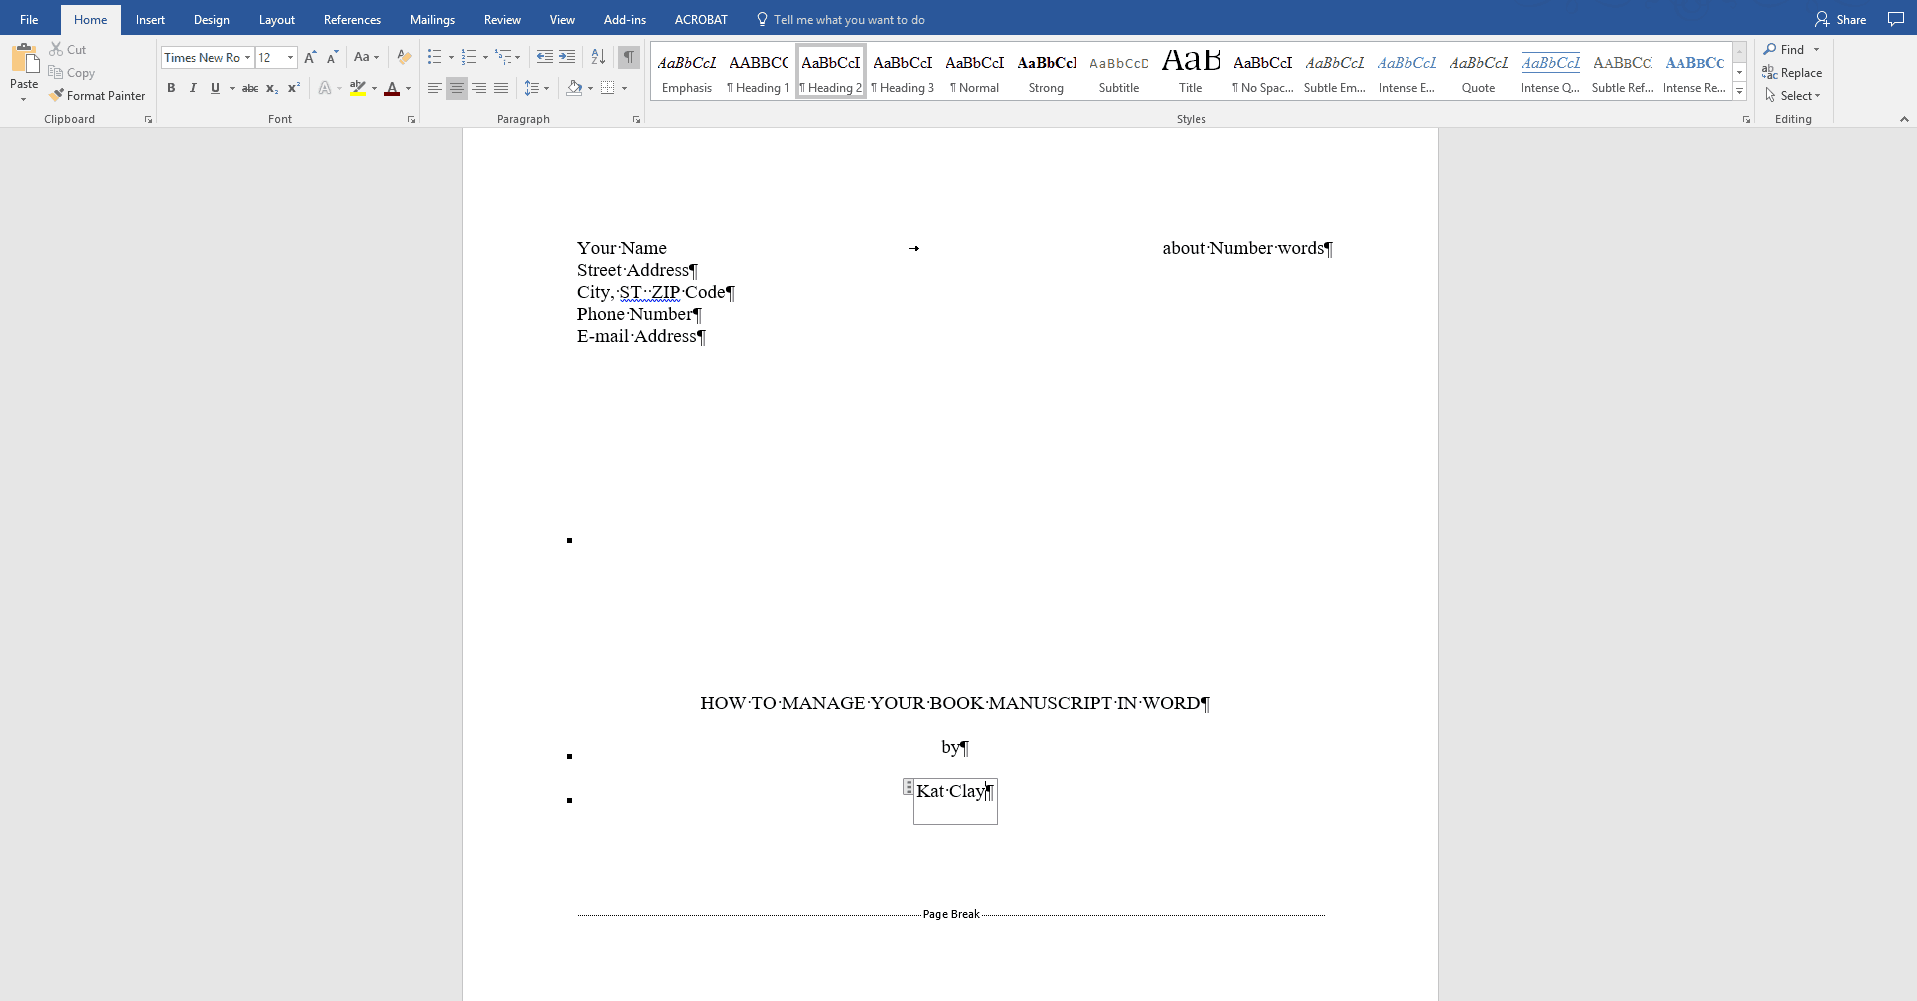
While there are a lot of great software options out there for writing your novels, I use Microsoft Word. Why? Because it’s simple – there’s no distracting features, just you and the page.
But sometimes it’s hard to figure out how you should format and manage your manuscript in Word, especially if you’re new to writing books and novels. I’m going to go through my process of setting up my documents, and how I use Word to manage big novels with large chapter structures.
Use the templates
Word makes setting up a manuscript easy with templates. There are both short story and book manuscript templates available for download and use in Word. You don’t have to do anything except search in the top box at the opening menu for manuscript, download them, put in your details and type. Too easy.
I use these all the time, but it is still helpful to know the standard settings for manuscripts or short stories to present to a publisher:
- Times New Roman or Courier font (I personally prefer Times)
- 12 point
- Double spaced
- 1 inch margins
- First line of each paragraph hanging (indented)
- Left alignment
- Your name/story title/page number in the top right hand corner
The number one tip I can give is to double check requirements for your manuscript with the publisher before submitting – they will include these requirements with their submission guidelines.
The reason for Times New Roman or Courier is their legibility. They’re both really easy fonts on the eye, rather than having an editor squinting over your manuscript in Papyrus. Using a template makes life easier – no more pressing tab every time you start a new paragraph.
If you need to set up your paragraphs in word itself (sometimes formatting can break or you want to change an old story), select your text, go to the paragraph pull out menu (tiny little button in the corner of the panel) and choose the appropriate settings.

Use headings for chapters
Under the home menu, you will see different style types up the top. Highlight your chapter headings, then style them as Headings from the menu, and they’ll appear in the headings navigation menu on the left hand side.
Using headings means that you can navigate quickly between chapters. This is particularly useful if you are writing non-fiction with multiple sub-sections, as you can use sub-headings to manage it in the navigation menu.
These are also extremely helpful if you will be self-publishing your book, as they are needed to format the document correctly for online export.

Save and label your files clearly
One final tip: I save all my files in this style of structure so I don’t send the wrong draft to publishers:
- Writing
- Novels
- Book title
- 1 DRAFT Book Name
- 2 DRAFT Book Name
- FINAL Book Name
- Book title
- Short Stories
- Year
- Short Story title
- 1 DRAFT Story Name
- FINAL Story Name
- Short Story title
- Year
- Novels
Now that you know how to format your manuscript correctly in Microsoft Word, you know your work will appear professional to editors, agents and publishers. If you have any questions, please feel free to ask in the comments section below, and I’ll do my best to answer them.

Share your thoughts